

(Mostly) Natural Nails
Fake It Till You Make It
Long, strong, healthy nails: you can fake them or you can make them! For more than ten years, I’ve been faking them. As a dedicated consumer in the nail salon industry, I can only imagine the small fortune I’ve given away while simultaneously damaging my own nails beyond recognition. I jumped on the acrylic nail bandwagon shortly after high school because I desired length and strength, and I was on that “instant gratification” plan. As a result, over the past decade, my nails have slowly been deteriorating underneath vibrant, glossy layers of acrylic powder and gel polish.
The Early Days
Let’s go back, back into time. As a child, I was a nail biter and for as long as I can remember, I always had short nails. Initially, it was probably because I was biting them off and later in life, well, maybe it was just a side effect of my nibbling tendencies.  While I had no nail health education or understanding, I did have an appreciation for nail polish and regularly kept my nails glammed up. As I got older, my shorties stayed short and my self-esteem had me feeling some kind of way about them. Like most other teenagers/young adult females, I began to analyze all that was me and compare it against the images from the media of what I
thought I was supposed to be. I didn’t feel like a real girl (whatever that is) with my short nails. I felt like they had to be long and “sexy”. I gave my nails power over my hands and power over me. Longer nails make me feel more womanly and more attractive, so I just had to have them.
Fast Forward
After spending so many years killing my nails softly, I was left with nails that would get semi-thick but remain short, or that would grow long (only underneath tips that had to be carefully removed) but be almost paper thin. I realized how counterintuitive getting acrylic nails was and so I jumped ship to getting UV gel polish, although that turned out to be just as harsh on my nails. The removal process for the gel polish requires soaking and drilling of the topmost layers, which still left my nails extremely thin. Another deciding factor was my history of bad breaks. Many times when I broke the acrylic I also broke my nail across the nail bed. The pain, the bleeding and the healing time for these breaks are a nightmare (especially as an aerialist and fitness guru). Deciding I had to get off this roller coaster, I made a decision to go natural.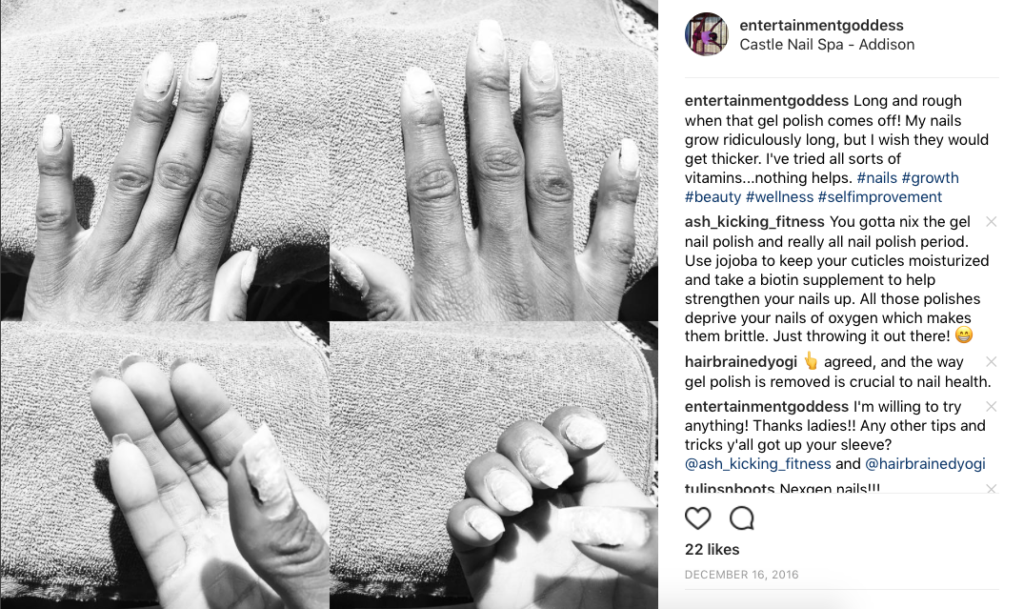
New Beginnings
I set Nail Health as one of my 2017 goals, with the hope of getting my nails back to a healthy, strong status. This required me to make a long-term commitment to the goal of natural healthy nails and give up fake nails and gel polish indefinitely (hopefully permanently). I have been on this natural nail journey for seven months now and I’m quite satisfied with the results and mad at myself for not having made this change sooner. Basically, I went cold turkey. I started off by maintaining my last round of UV gel polish on my own. Each week I would file my nails down to try and keep them looking natural and seamless. Once I was able to safely remove the remaining layer of UV gel polish, the first thing that I noticed is that my nails were super unhealthy. They were thin, peeling, rough and the color was off.
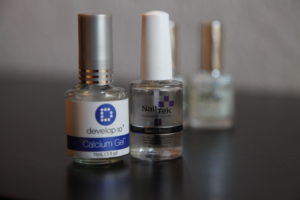 My first milestone was to just get my nails back to a healthy state. I knew my nails had the ability to grow long, so I needed to focus on building a strong foundation. I kept them filed down, very short, and I invested in NailTek Intensive Therapy 4 and Develop 10 Calcium treatments which I apply on a weekly basis. For the first couple of months, my nails would grow out a little bit and then break, which was fine because I could see the healthy fingernail starting to come in.
Back to Me
Making the transition back to natural nails was painful…NOT. I always thought that short nails would make me feel different, like less of a woman. I quickly realized that not only was that not true but that I don’t really pay that much attention to my nails long or short. I found that the shorties don’t bother me as much as I thought that they would. My fear of short nails was all in my head. I am still a strong, sexy woman regardless of my nail length.
I also came to the realization that not taking care of my own nails gave me an excuse to be naive. Going natural helped me break free of that unhealthy ignorance and required me to learn about proper nail care habits, tools, and products. This process of relearning and caring for my own nails has given me some much needed ME time and resulted in a handful of other unexpected, yet appreciated benefits. Interestingly, I found that I’m saving about $120 a month now that I’m not making frequent visits to the nail salon. I also rediscovered my love for nail polish and remembered my Caboodle full of nail polish that I had as a child – back when the hardest decision I had to make was what color I should choose.
Shorties With A Boost
Even though I’ve been enjoying the healthy changes I’ve seen in my nails, at times I do find myself still longing for some length. I just have this wave of disappointment every time I break a nail, even though I know it’s not about winning the battle but rather about winning the war. Much like my hair, I’m like looking into protective styles that are easy to do.
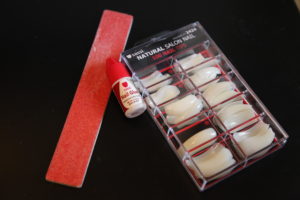 I went out on a whim and purchased some fake nail tips. This was an idea that I got from a friend (Check out #megansmanis on IG to see some of her fun styles). She’s really big on nail design and is forever posting creative and perfectly polished digits. In one particular post, she mentioned that she too was tired of her shorties and added some length. I thought I’d give it a go too, as it would be a great way to protect my nail growth without compromising the nail health or thickness that I have been able to achieve over the last few months.
The Process
Maybe I’ll film a quick tutorial at a later time, but I’ll quickly walk you through the route I took. I won’t lie, it took a little bit of maneuvering and fidgeting initially, but it didn’t take too long to get the process down. First, I sized each finger and laid out the tips in order, with a duplicate set for my other hand. Then I actually did a little preliminary filing, that way I wouldn’t have to file as much once the tip was applied. From there I put a small dab of glue on the inside of the nail (not much is needed as it easily spreads) and then applied with light pressure to the tip of my nail. After allowing the glue to set and dry, I cut the nails down to the desired length and then filed the top so there were no clues as to where the tip ended and my nail began. 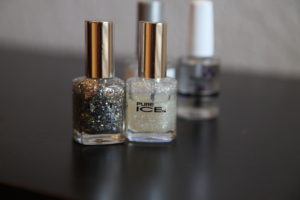 From there, I applied my NailTek and Develop 10 Calcium (still gotta keep nail health and strength as my main focus) and after that, I layered glitter polish on the tips. I used Pure ICE polish (although OPI is my favorite brand) that I picked up at Walmart. Cheap with good quality! I’m happy to say that they turned out rather nice! I’m back to having a little bit a length, but not compromising my own nails in the process – I’m dubbing it: Mostly Natural! And thus the title of this blog post. I’m hoping that this will last at least a week…maybe two if I’m lucky!
*Between doing my nails and completing this blog, I actually broke one of my nails. I was relieved to see that only the tip popped off without any damage to my actual nail. Usually, with the powder they put on over the tips and UV Gel polish, there’s usually a lot more damage. I think by having only a dab of nail glue and polish over the top as the “adhesives” resulted in the acrylic tips not being as destructive to my nails.
Despite a slight learning curve, all it cost me was a fraction of what a visit to the nail salon would have been. It was $3.99 for the box of tips and $1.00 for the nail glue. Way more cost effective than my typical $120 visits to the nail salon. Over 90% savings and just as nice!
Photo Cred:
Featured image: Nail Model by jenikahycc.
First image: Polish Drop by Yenhoon
Remaining images by me: Ashley of FlexyFit.co

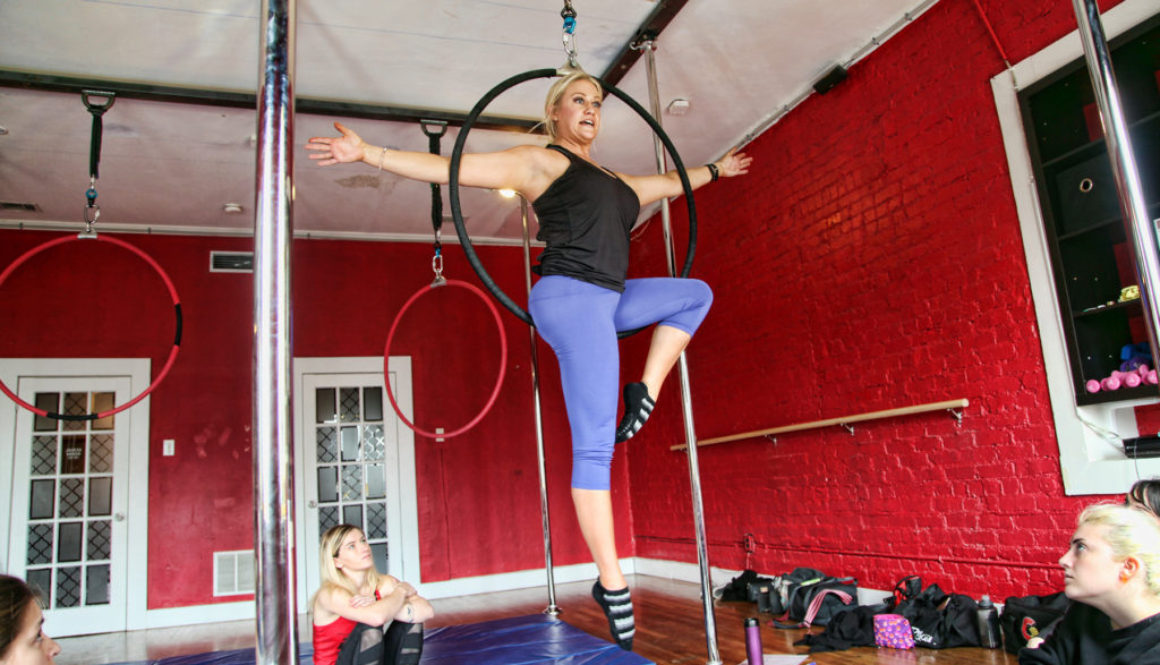
 re I dive into the awesome training, I want to point out how much of a perfect fit Kimberly and Shelly are as leaders and master trainers for the Spin City Lyra Program. I’ve known both ladies for years now, and have trained with them many times. Their talent and professionalism extends beyond their work as aerial athletes and into their training and leadership. Throughout the training both ladies brought enthusiasm and consistently exemplified the principles that we were learning.
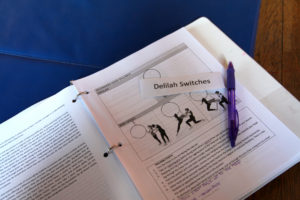 Leading up to the training we received a handful of thoughtful reminder emails that kept us excited and in the know, but of course this is not the kind of thing that we’d forget was on our calendar. Within those pre-training emails, we received a PDF copy of the training manual – about a week before the training session. Because I was so used to receiving a printed manual at the start of training, I was initially caught off guard by the PDF manual that I needed to get printed on my own. It wasn’t until I had the printed manual in my hand that I realized the benefit of having the manual ahead of time and not just the day of. All it cost was a quick trip to FedEx-Kinkos and less than $20, but the value I got in return, by having the manual ahead of time, was the opportunity to nerd out and get familiar before the start of training. And when I say I nerded out, I NERDED OUT!!!
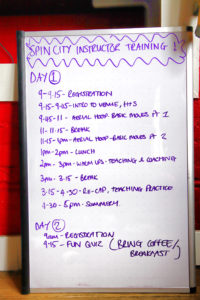 The 16-hour training was well laid out, with a plan of attack clearly posted each day. The material focused on classroom management, the role of an instructor, and beginner-level warmups, tricks, conditioning and choreography. Side note: I also appreciated that we were taught moves/variations that were not included in the manual; it was a sweet added bonus! The teaching objectives were solidified via a mix of reading, group discussion, demos and hands-ons activities. The activities were a great way to immediately put what we learned and discussed to use. Sometimes we worked in groups of two, sometimes groups of three, and instead of always selecting our partners, we were often paired up. This ensured that we all got time with each other and you were gently forced out of your comfort zone and talking interacting with other people.
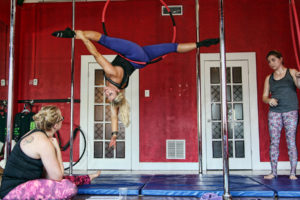 Choreogprahy was a major focal point in training and had several activities surrounding it. As an instructor and competitor, I know first hand how crucial and how difficult choreography can be, so I appreciated the focus that was put into the choreography excursuses that we participated in. We are provided and taught beginner level lyra choreography and then given the challenge to not only come up with our own choreography but also to teach that to our fellow trainees. I felt like a proud (soon-to-be) lyra instructor. And shoutout to my fellow attendees, since pole is my primary apparatus, naturally I kept calling the lyra a pole but they didn’t hold that against me lol. We also discussed a few of the different type of student personalities and participated in a few exercises that highlighted and tested our ability to maneuver around those while teaching. I think that exercise was extremely helpful to anyone who hasn’t taught before, or those who haven’t had the pleasure of experiencing the many types of personalities you can encounter while teaching.
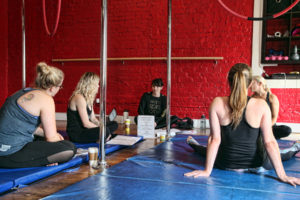 One of the most beneficial parts of the training for me was the group discussions. I believe that it’s extremely helpful to share ideas, experiences and mistakes…this makes for the best learning. Personal experiences are can help solidify learned principles and often highlight factors and situations that general outlines and trainings overlook or aren’t able to include. I enjoyed the fact that Kim and Shelly allowed us to gear off-track at times to share with one another. If added an extra level of learning to the training and helped us connect with each other.
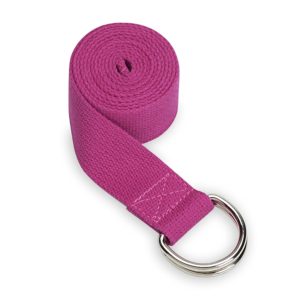
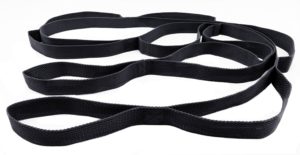
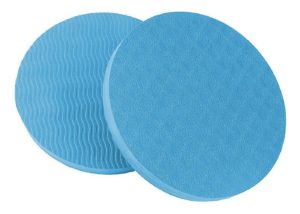
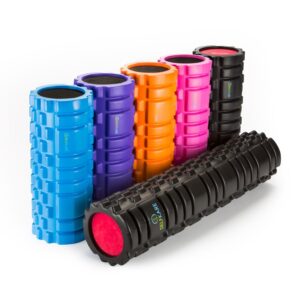
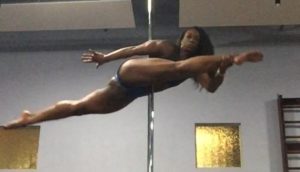
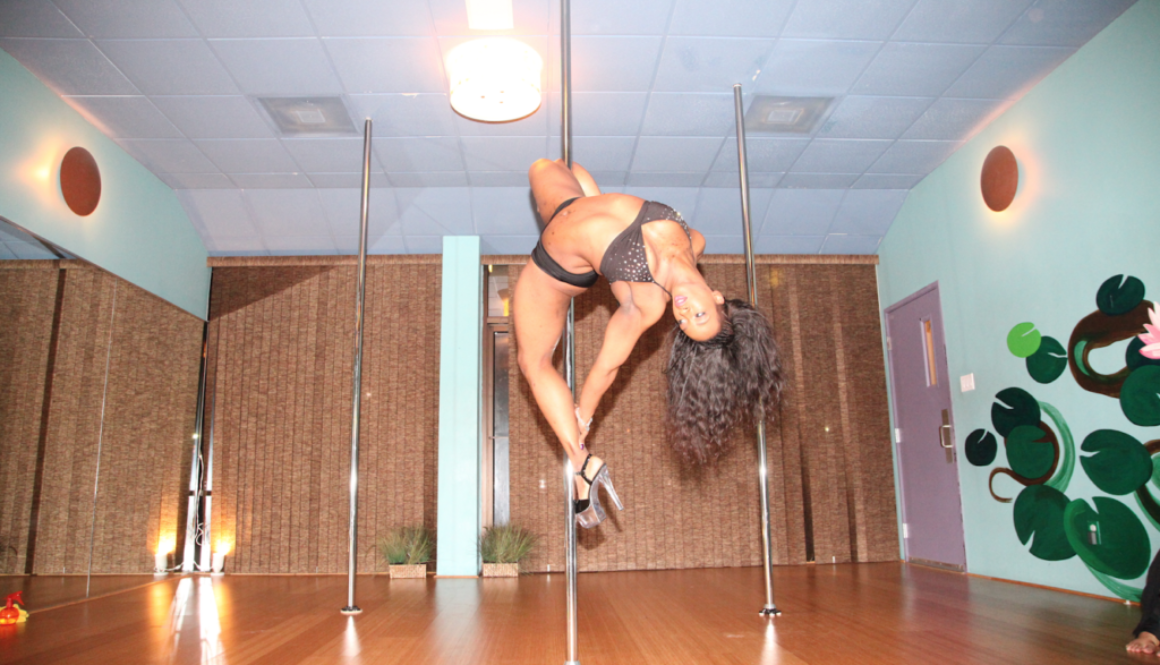
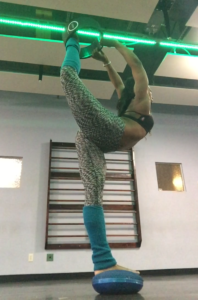 got a little taste of dancer pose and needle scale prep. Challenging, but fun! As you can see, these two skills require a great deal of body awareness and have quite a few moving pieces – balance, open hips, splits and back flexibility. This week we’ll continue working on balance and also give some body-love to our hips and splits.